A Terracotta Army figure can look so lifelike that it is easy to imagine one sculptor shaping every warrior from a single lump of clay. The archaeological picture is more interesting. The project needed repeatable methods, carefully prepared materials, skilled finishing, controlled drying and firing, and then surface treatment. It was neither a simple production line nor a gallery of modern-style individual portraits.
For visitors, that process offers a better way to look. Instead of asking only whether two faces are identical, look at the joins implied by the clothing, the texture of armour, a hand or topknot, the modelling of the boots, and any surviving colour. Those details make the figures feel less like a distant crowd and more like the result of a remarkable Qin-period craft project.
Quick answer
- Were the warriors made one by one from solid clay? No. Research points to a carefully organised process that combined repeatable production methods with detailed finishing.
- Were molds involved? Molds and other repeatable techniques helped make some parts efficiently, while individual modelling and finishing still shaped the final appearance.
- Why do the figures look different? Pose, dress, hair, armour, hands, surface treatment, and finishing details create visible variation across the army.
- Were they originally grey? No. Many figures once had painted surfaces, although much of that colour is no longer visible.
- What should you notice at the museum? Boots, hands, armour plates, hair, posture, and repaired joins are often more revealing than a quick photograph of a face.
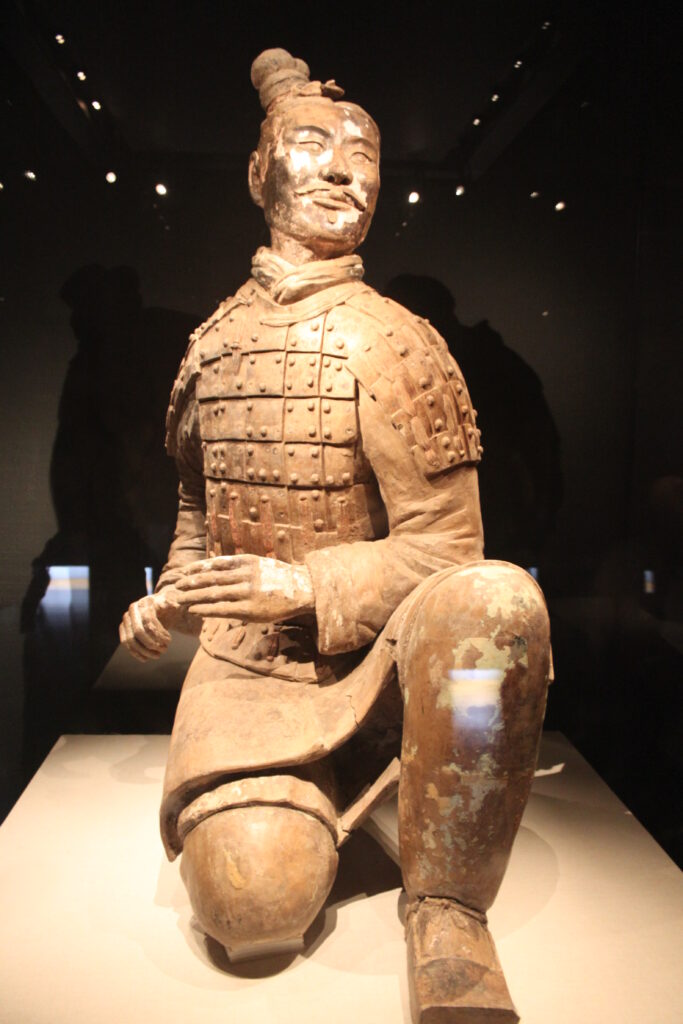
Why making the army was such a large technical task
These were life-size ceramic figures made for a huge funerary complex, not small household figurines. Their scale meant that clay selection, preparation, shaping, drying, firing, transport, and placement all mattered. Modern analysis of the ceramic material has found evidence of prepared clay paste and sand temper in warrior samples, while also stressing how much remains to be learned about the workshops and their organisation.
That is why it is better to think in terms of a coordinated craft system than a single trick. The figures needed enough regularity to work at scale, but also enough skilled attention to create convincing clothing, hairstyles, expressions, and equipment. The published archaeological study of ceramic craft technology explains how material analysis has helped researchers investigate those questions.
Repeatable parts, then close finishing
Visitors often hear a dramatic version of the story: every warrior had a completely unique face. The safer and more useful conclusion is that repeatable production and individual finishing worked together. A large project could use standard approaches for major elements, then add variation through modelling, details, clothing, hair, facial treatment, and the way a figure was prepared for its place in the formation.
That combination is visible without trying to identify a particular person. Compare the topknots, collars, armour textures, sleeves, and hands on nearby figures. The guide to faces, ranks, and hidden details gives a practical checklist for doing that without turning the visit into a guessing game.
Clay preparation, shaping, drying, and firing
The clay had to be suitable for very large, detailed figures. Research on samples from the site describes a non-calcareous clay paste with sand temper in warrior material. In practical terms, careful preparation helps a clay body behave more reliably while being shaped and dried. For sculptures of this size, drying and firing were not background steps; they were central risks that had to be managed.
It is wise not to present every technical detail as settled. Scholars continue to investigate production locations, workshop structures, firing arrangements, and the exact sequence of operations. What is clear is the level of planning involved. A warrior you see in the museum is the end point of a process that combined raw material, repeated craft knowledge, and patient finishing.
Small details are not small achievements
The soles of the kneeling archers are a good example. Their patterned texture is easy to miss unless a close view is available, yet it shows how much attention was given to surfaces that were not designed for a distant, head-on photograph. Boots, laces, garment folds, and armour studs all make the figures more than basic clay silhouettes.
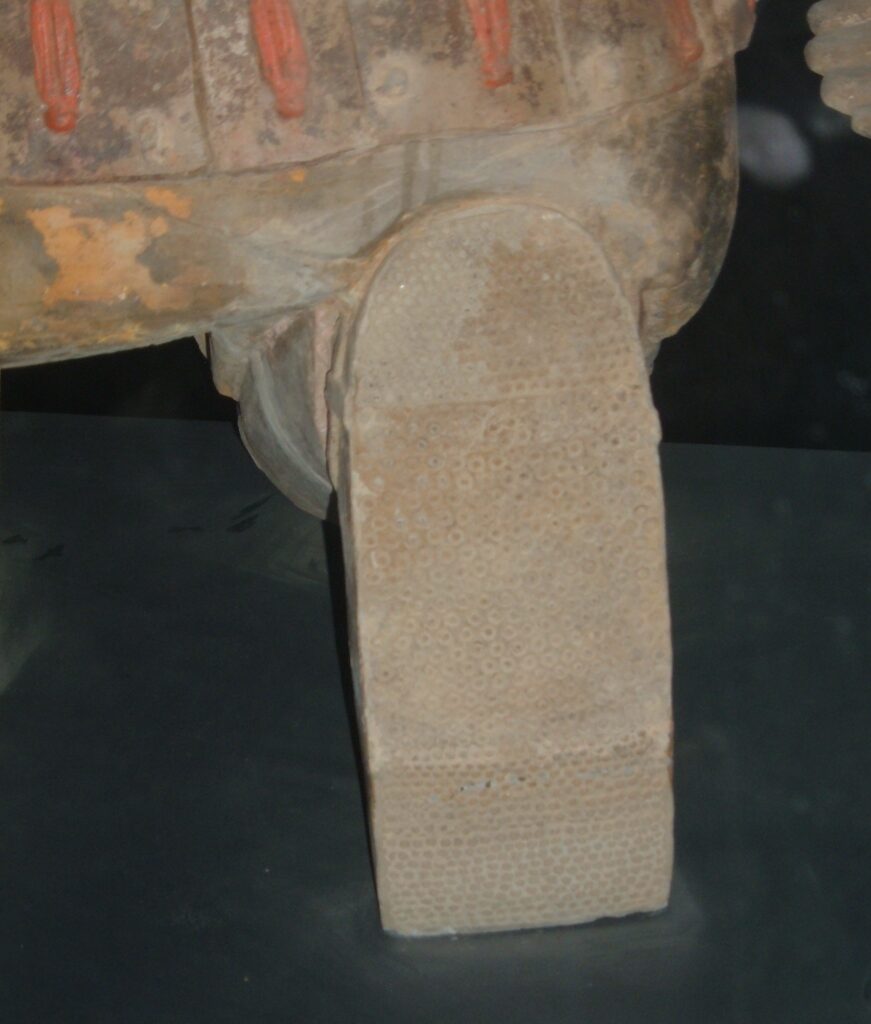
Try a simple viewing exercise in the pits. Pick one figure and follow its details from the hair to the shoulders, clothing, hands, and boots. Then compare one of those details with the next visible figure. This creates a more useful impression than trying to decide whether the whole army was made from one mold or thousands of unrelated designs.
Heads, hair, hands, and armour
Close views of a head can show the topknot, headgear, ears, eyebrows, moustache, and the transition from face to collar. On the body, layered armour and sleeves add different textures. The hands matter too: a figure may be posed for equipment that does not survive in the same condition, so the gesture can tell you more than the empty space around it.
A good rule is to describe what you can see, not to overstate what it proves. Facial variety does not mean that every figure is a literal portrait of a named soldier. It does show that the makers used a sophisticated vocabulary of forms and finishing details. The weapons guide can add context when you want to connect hands and posture with the army’s military setting.
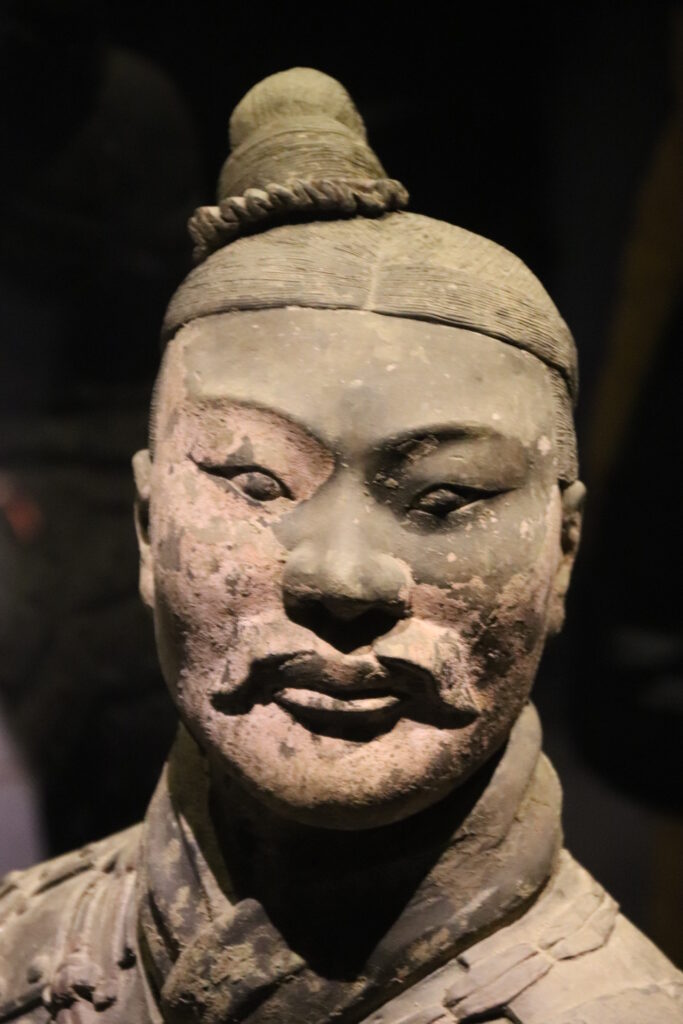
Painting was part of the finished effect
The clay surface was not intended to be the complete visual result. Many figures originally carried painted decoration, and traces can still be seen on some examples. Time underground and the challenges of excavation mean that much of that surface is no longer present, which is why the army often appears predominantly grey today.
The lost colours guide explains this side of the story in more depth. When you see a small coloured patch or a differently toned surface, treat it as evidence of a much richer original finish rather than an accident of lighting.
How the craft story changes your museum route
Follow the recommended route order before concentrating on a single detail. In Pit 1, use the wide view to understand the scale of the project. In Pit 2, slow down when you have a clearer view of individual types and their poses. The contrast helps you connect the large formation with the specific craft choices on one figure.
If you see a repaired or incomplete sculpture, do not treat it as a lesser exhibit. Repair can make the work of joining, stabilising, and interpreting the original parts more visible. The restoration guide and the 1974 discovery guide explain why careful archaeology is part of what visitors see today.
What not to assume
- Do not assume the army was produced by a single, identical mold. The visible result combines regularity and variation.
- Do not assume today’s grey surface was the intended finished appearance. Painting was part of the original visual effect.
- Do not assume every missing object was never there. Burial, excavation, and preservation affect what survives and what can be displayed.
- Do not dismiss a small detail. Boots, hands, hair, and armour can make the production story much easier to see.
Official checks before you go
Use the museum ticketing page and the Emperor Qinshihuang's Mausoleum Site Museum for current visitor arrangements. The UNESCO listing for the Mausoleum of the First Qin Emperor gives the wider heritage context. Museum views and access points can change, so use the live layout and staff guidance on the day rather than relying on a single old photograph.
Best recommendation
Give one figure two focused minutes. Look first at its overall pose, then at one small feature such as a boot, hand, topknot, or armour edge, and finally at any colour or repair trace. That simple habit makes the Terracotta Army feel less like a vast anonymous formation and more like an extraordinary feat of material knowledge and human skill.
Qin Civil Officials at the Terracotta Army: What Pit K0006 Reveals
Discover the Qin mausoleum civil officials of Pit K0006: why their folded sleeves, charioteers, colours, and separate setting…
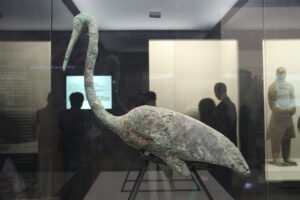
Bronze Water Birds at the Qin Mausoleum: Cranes, Swans, and Geese
A visitor guide to the bronze water birds from the Qin mausoleum: why cranes, swans, and geese matter,…
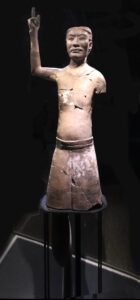
Terracotta Army Acrobats and Strongmen: The Figures Beyond the Soldiers
Meet the Qin mausoleum acrobats and strongmen: why they are different from the Terracotta Army soldiers, what Pit…