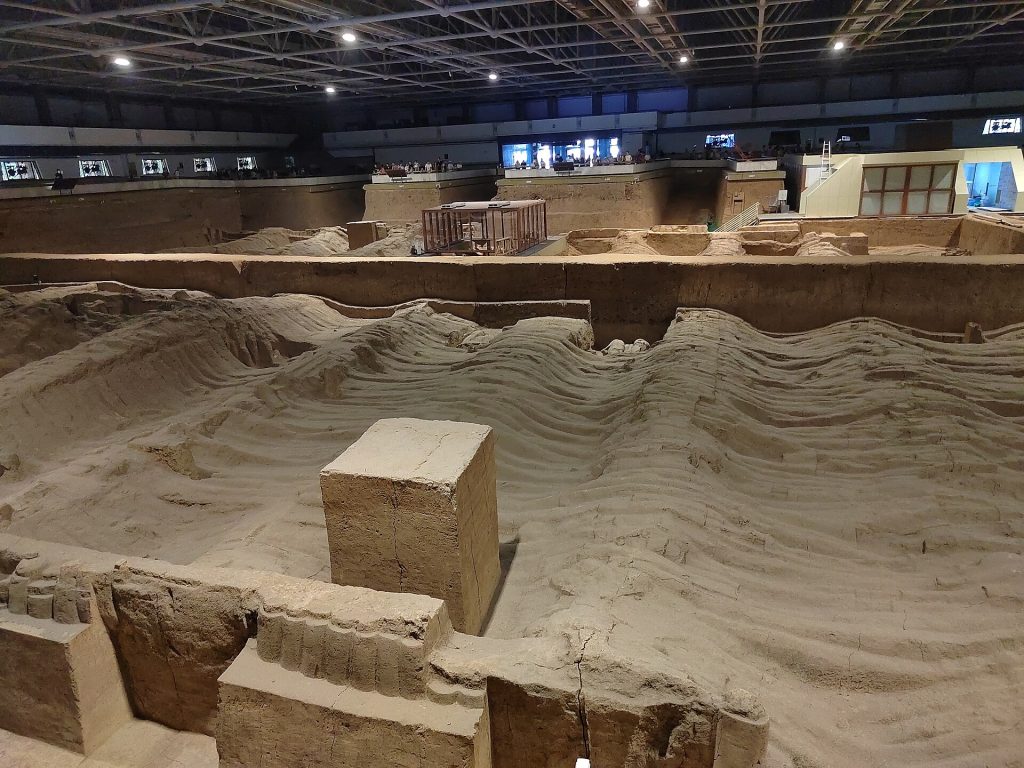
Pit 3 is smaller than Pit 1 and less visually overwhelming than the main hall, but it plays an important role in the museum story. It helps visitors understand command structure and organization. If Pit 1 shows scale and Pit 2 shows variety, Pit 3 helps explain control.
Pit 3 viewing priorities
- Best for: visitors who want the army to make sense as an organized system.
- Do not expect: a large visual hall like Pit 1.
- Visitor value: command context, route completeness, and better understanding of the burial army.
Why Pit 3 matters
Pit 3 matters because small spaces can explain big systems. It points visitors toward command structure and organization rather than scale. That makes it easy to underestimate if you are only looking for rows of warriors, but useful if you want to understand how the army was imagined.
Think of Pit 3 as a context area. It helps turn the museum from a collection of impressive figures into a planned military and burial arrangement.
What to look for
Look for how the space differs from Pit 1 and Pit 2. Ask what kind of function the area suggests. The visitor value is not only the number of objects, but the idea of command and structure. If you have a guide, this is a good place to ask how the pits relate to each other.
Without context, Pit 3 can feel like a short stop. With context, it helps complete the mental map of the Terracotta Army.
Where Pit 3 fits in the route
Pit 3 can work after Pit 1 or after Pit 2 depending on crowd flow. Many visitors prefer seeing Pit 1 first, then using Pit 2 and Pit 3 to understand the larger system. If you are short on time, do not skip Pit 3 automatically; give it a focused look and then continue.
Use the museum first-time guide for a complete route, or the Pit 2 guide if you want to compare the supporting halls.
How long to spend
Most first-time visitors need less time in Pit 3 than in Pit 1, but the stop should not be meaningless. Spend enough time to understand why the area is included in the route. If you are with a guide, ask for a concise explanation before moving on.
Visitors who are very short on time should still use Pit 3 to understand command context, then save the remaining time for the Bronze Chariots or return to Pit 1 for a final view.
How Pit 3 changes the visit
Pit 3 changes the visit by adding organization. Pit 1 gives scale, Pit 2 gives variety, Pit 3 gives command, and the Bronze Chariots give detail. Together they make the museum more than a famous image. This is why a complete route matters.
Continue with the Bronze Chariots guide if you want to understand the artifact side of the visit after the pit sequence.
Before-you-go checklist
Do not judge Pit 3 by size alone. Use it to understand command structure. Pair it with Pit 1 and Pit 2. Ask how the area fits the army's organization. Keep the route purposeful if your total museum time is limited.
Why a smaller pit matters
Pit 3 is valuable because it changes the question from scale to command. A smaller space can still explain the organization behind the buried army, especially after visitors have already seen the scale of Pit 1 and the variety suggested by Pit 2.
Do not treat size as the same thing as importance. Pit 3 helps the museum feel planned rather than random, which is central to understanding the mausoleum project.
How to frame it for your group
Before entering, tell your group that this stop is about command and organization. That one sentence helps children, casual visitors, and tired travelers understand why a quieter hall deserves attention.
Look at how the area differs from the other pits and ask what function it suggests. If you have a guide, this is a good place to ask how the three pits relate to one another.
When time is short
If your schedule is tight, give Pit 3 a concise but purposeful stop instead of skipping it automatically. The point is not to spend as long as Pit 1; the point is to complete the route logic.
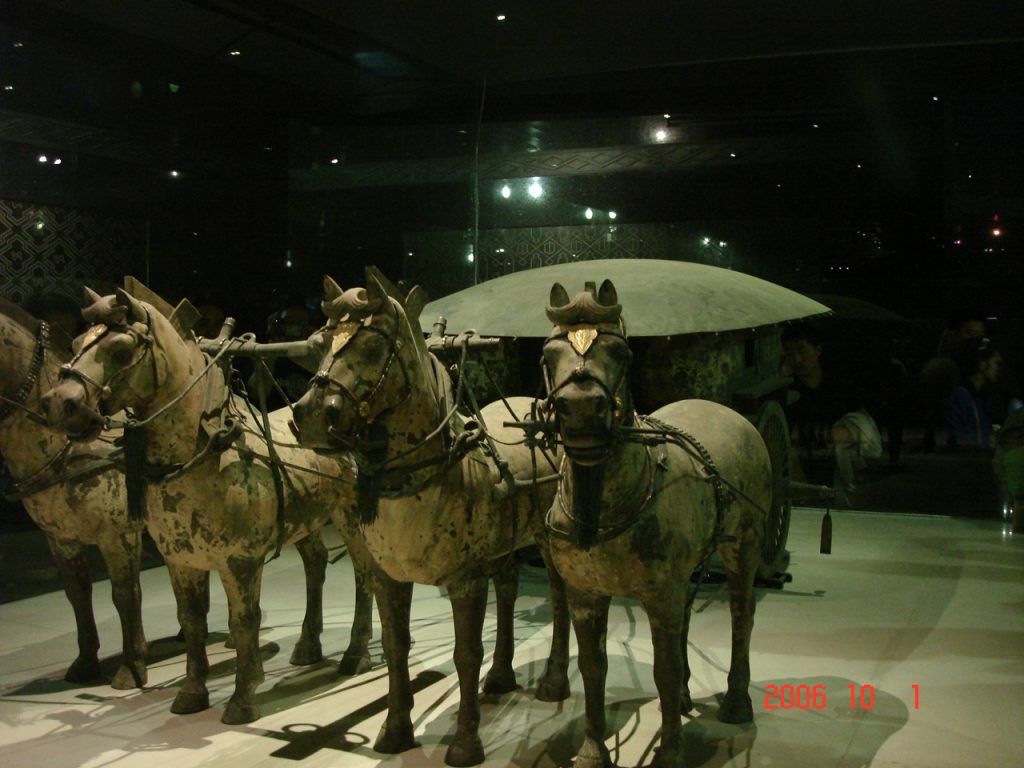
After Pit 3, the Bronze Chariots make a useful next step because they shift from command and formation to craft, vehicle symbolism, and imperial burial context.
How to keep Pit 3 from feeling like an afterthought
The key is to introduce Pit 3 before the group reaches it. If visitors know they are looking for command and organization, the smaller scale feels purposeful. If they arrive expecting another large display, the stop can feel disappointing.
A guide, parent, or self-guided traveler can frame it in one sentence: this is where the army's structure becomes easier to understand. That kind of framing is especially useful for visitors who are tired after Pit 1 and Pit 2.
Related planning guides
- Terracotta Army Museum Guide for First-Time Visitors
- Pit 1 Guide at the Terracotta Army
- Pit 2 Guide at the Terracotta Army
- Bronze Chariots Guide at the Terracotta Army
Official checks before you go
Ticket rules, opening hours, route access, and entry procedures can change during holidays, maintenance, weather events, or peak visitor periods. See the official ticketing information, the museum website, and the UNESCO World Heritage listing. Use those sources to support the command-context explanation and current museum arrangements.
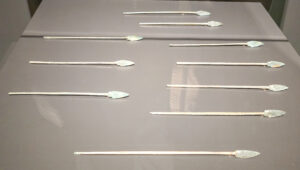
Terracotta Army Weapons: What the Arrowheads and Swords Tell You
Look beyond the warriors themselves with a practical guide to Terracotta Army weapons: bronze arrowheads, swords, missing wooden…
Why the Terracotta Army Looks Grey Today: The Story of Its Lost Colors
The Terracotta Army was originally painted. Learn why much of that colour disappeared after excavation, what visitors can…
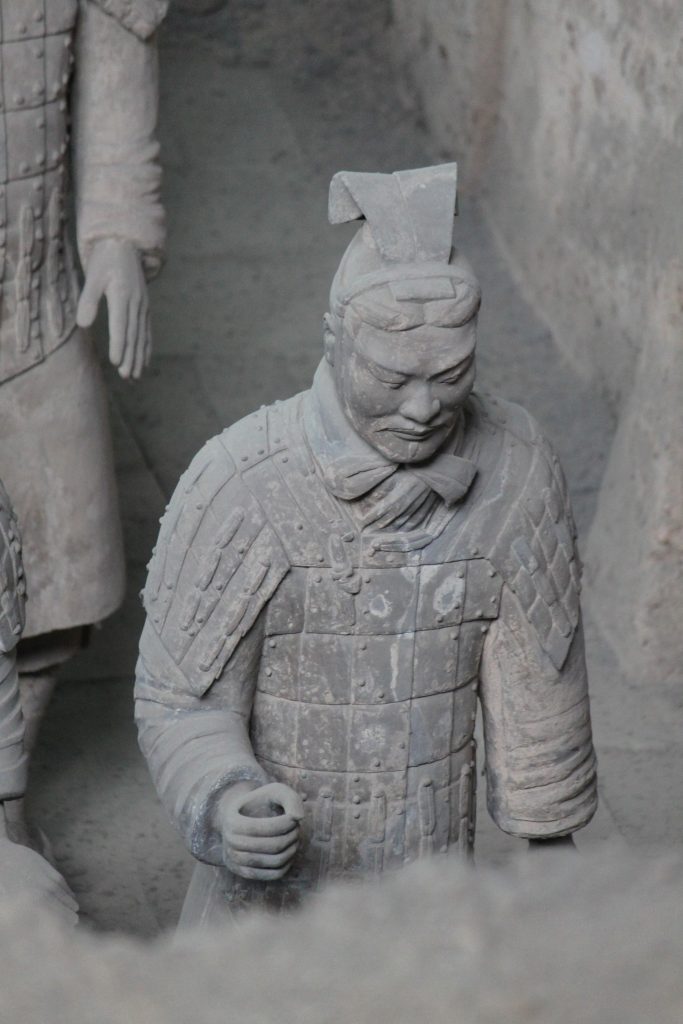
What to Notice at the Terracotta Army: Faces, Ranks, and Hidden Details
A practical guide to the Terracotta Army details first-time visitors should notice, including faces, hairstyles, armor, ranks, poses,…